
The most repeated advice about how to get Google ads on my website sounds like one step. Paste the ad code, the story goes, and money starts arriving. That advice skips the three things that decide whether an ad ever renders on your pages. Google has to approve both your account and your site. Your consent setup has to cover the countries your visitors come from, not just the country you live in. And the payout is a share of advertiser demand, which follows your audience rather than your code placement.
None of it is complicated. It's sequential, and the order matters. What follows runs from choosing the right Google product through to confirming that a real ad request fires on a real page on a phone.
Table of Contents
- Why You Need AdSense, Not Google Ads
- How to Apply for Google AdSense and Get Approved
- Choose Auto Ads or Ad Units and Place the Code
- Confirm Consent Setup Before You Go Live
- How to Check Your Ads Are Showing
- Fixing Weak Earnings and Policy Warnings
Why You Need AdSense, Not Google Ads
To put Google ads on your website, you apply for Google AdSense. Google Ads is the console businesses use to buy advertising across Google search results, YouTube, and partner sites. The two sit on opposite sides of the same auction, and a publisher belongs on the AdSense side.
| Product | Who uses it | What it does for your site | Money flow |
|---|---|---|---|
| Google AdSense | Website owners who publish ads | Places Google ads on eligible pages | You earn a share of ad revenue |
| Google Ads | Businesses that buy advertising | Runs your ads on Google and partner sites | You pay for clicks or impressions |
The financial side is a revenue share, not a rate card. Google's own AdSense revenue-share documentation states that publishers using AdSense for Content receive 80% of revenue after the advertiser platform takes its fee. When the advertiser buys display ads through Google Ads, the publisher keeps approximately 68% of the advertiser's revenue, and Google says that overall publisher share stays at about 68% under the structure introduced in November 2023.
That 68% is a percentage of demand, and demand varies. AdSense pays on effective cost per mille (eCPM), so your earnings depend on the value and number of monetized impressions. Six things move that number: traffic volume, audience location, ad format, advertiser demand, viewability, and engagement. Traffic from a country with strong advertiser competition pays more per thousand impressions than the same volume of traffic from a market with thin demand. Installing the code guarantees nothing per visitor.
Policy is the other half. Google Publisher Policies apply to your pages, and violations can restrict ad serving or disable the account outright.
If you also plan to buy traffic for your own offers, that's a separate discipline with its own budget and landing page work, and this local ad strategy and landing pages guide covers the buying side rather than the publishing side. When you later need to read a Google Ads account programmatically, our Google Ads platform connection guide explains how that access works.
Apply only if you have original content and a steady audience. Treat the first months as a test, not a paycheck.
How to Apply for Google AdSense and Get Approved
Approval works like a building inspection. The reviewer walks the pages that are live that day, not the redesign still sitting in drafts. Start the application before the site feels finished. This step is the slowest gate between a published page and a paid impression. Code on the page does nothing until both the account and the site clear review. Where your visitors are, and whether consent is already set up for them, is a second gate you close before you call the site live. An ad that can run for one audience does not serve when that gate is shut.
Work through the sequence in order. Each step has a mistake that stalls a first application.
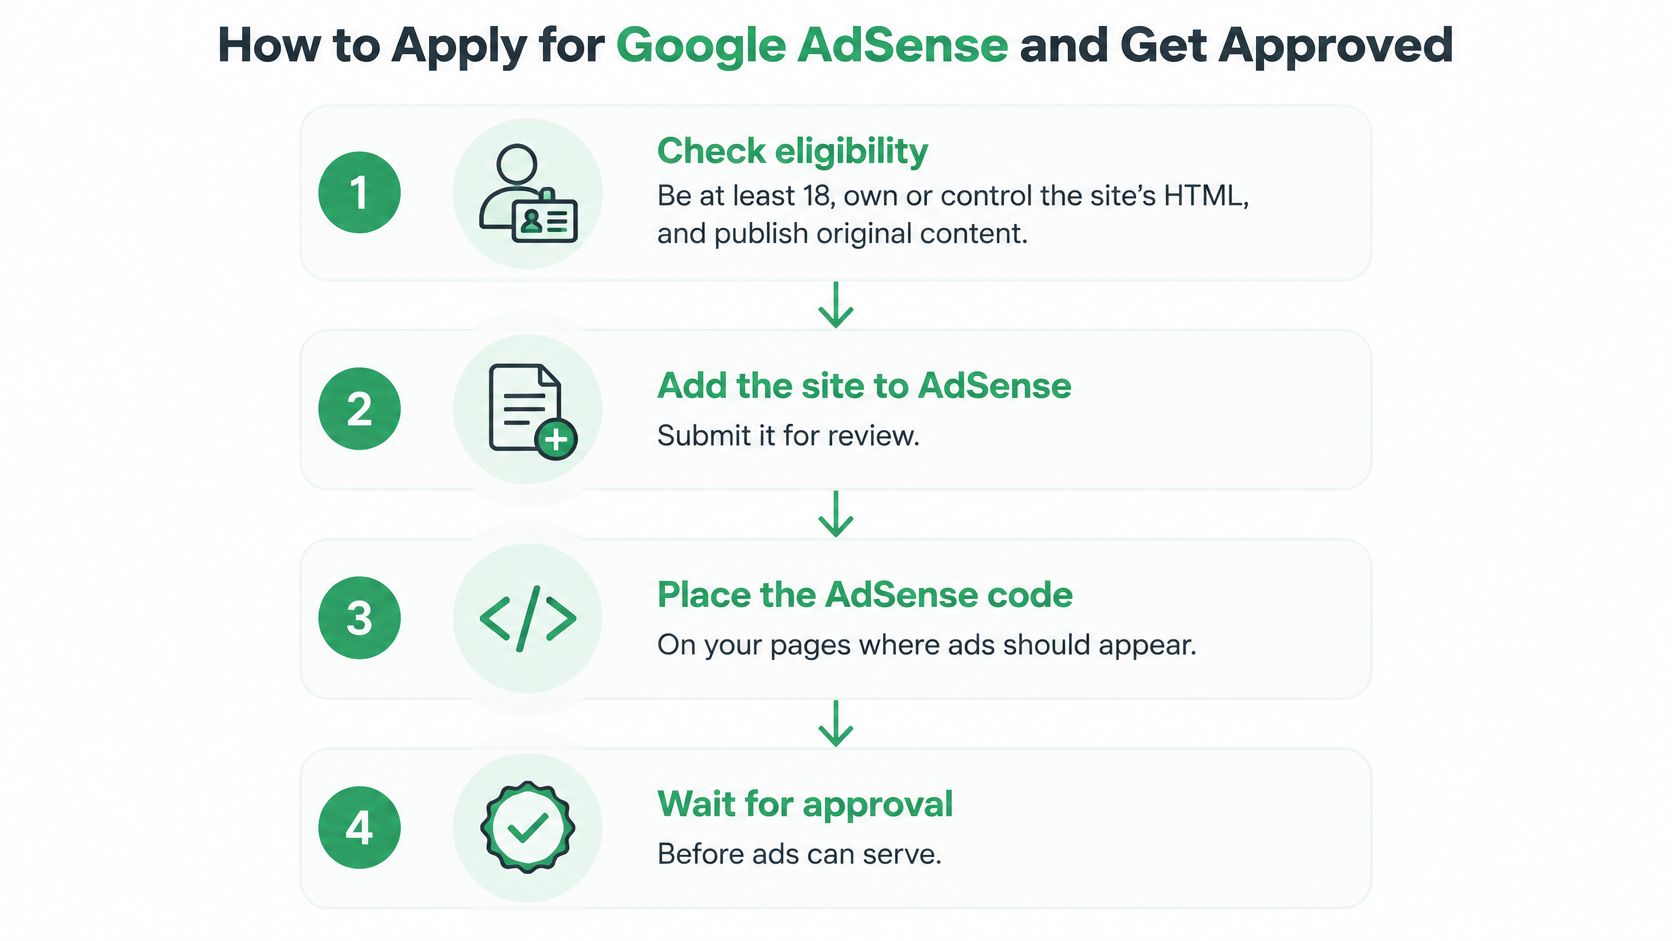
- Check eligibility before you do anything else. You must be at least 18, own or control the site's HTML, and publish original, high-quality content that complies with AdSense policies. Thin affiliate pages, copied text, and empty templates are the usual reasons a first application fails.
- Sign in with the Google account you intend to keep. Payments, policy notices, and site reviews all live inside that account. Switching accounts later means verifying the site again from scratch.
- Select Add site and enter the domain you control. Spell it exactly as it appears when the site loads. A typo here produces a verification failure that looks like a code problem.
- Complete payment details and phone verification. Use the same legal name and address you use for tax and payouts. Mismatched payee details stall payouts long after approval.
- Connect the site. Google's site-connection walkthrough says to place the supplied AdSense snippet between the opening and closing head tags on every page you intend to advertise on, or to use the approved ads.txt verification method at the site root. The common slip is adding the code to the homepage only, then wondering why articles earn nothing.
- Request the site review. Ads cannot show until both the account and the site are approved. The request is a gate, not a formality.
- Plan for a wait. Review often runs longer than a couple of days, and it can stretch well past the week you hoped to launch. Put that window in the plan instead of expecting earnings on day one.
Practical rule: never submit a site that is mid-redesign. Google reviews the pages it finds, and a half-finished template looks like a content or navigation problem.
What approval looks like, and what to do while you wait
When review completes, the site appears as approved in your AdSense sites list and ad serving can begin. Until then, the status stays pending and any ad code on the page returns nothing. Pending is the ordinary status while review is still open.
While you wait, keep publishing original pages on the templates you already have. Leave the layout alone. A theme switch, or submitting a second site, can reset the review you are already in. If a policy note arrives instead of approval, fix the flagged pages and resubmit rather than opening a new account.
The same patience applies at go-live. A snippet in the header does not mean ads are ready for every visitor. Check visitor geography and consent setup before you expect ads to appear.
If you'd rather see the dashboard walked through before you click through it yourself, the video below covers the same ground visually.
Choose Auto Ads or Ad Units and Place the Code
Three placement methods cover almost every site. They differ in how much control you hand to Google and how much code you paste.
| Method | Code needed | Placement control | Best for |
|---|---|---|---|
| Auto ads | Account code only | Google chooses placements | Large sites with many pages |
| Responsive display unit | Account code and unit code | You pick the spot | One high-value template to start |
| In-article unit | Account code and unit code | Inside body text | Long blog posts and guides |
Auto ads suit a site with dozens of templates you can't babysit, because one snippet lets Google decide where units appear. A responsive display unit gives you a fixed position, which is what you want when one page, such as a pricing page or a popular tutorial, carries most of your traffic. An in-article unit flows with body text and loads between paragraphs, so it fits long reads without splitting a heading from the section underneath it.
If your site runs on WordPress, the builder you chose determines whether you can reach the HTML of each template at all, and this WordPress website builder overview covers how the page editor handles inserted code.
Paste the code without breaking it
- Copy the account code for Auto ads, or the account code plus the unit code for a manual unit.
- Open the template in its HTML or code view, not the visual editor. Visual editors strip attributes.
- Paste the code where the ad should appear and save the template.
- Don't edit the code's settings, layout, or targeting, and never wrap it in a pop-up or another prohibited format.
- Preview one template on desktop and on a phone before you add a second unit.
- Keep the first unit clear of headings. A unit jammed against an H1 reads as a navigation element and pulls accidental clicks.
- Avoid layouts that herd visitors toward ads. Anything that hides content behind an ad or puts an arrow next to one is an invalid-traffic risk.
- Watch your CMS on save. Some editors rewrite or reformat script tags, and the ad stops rendering.
Start with one unit in one template. Expand only after the verification check on that template passes.
Confirm Consent Setup Before You Go Live
A cookie banner is a gate. If visitors arrive from Europe, the ads you can serve depend on whether you can show they agreed. The AdSense code being on the page is not enough by itself. Your traffic mix and consent configuration decide which ad types are eligible.
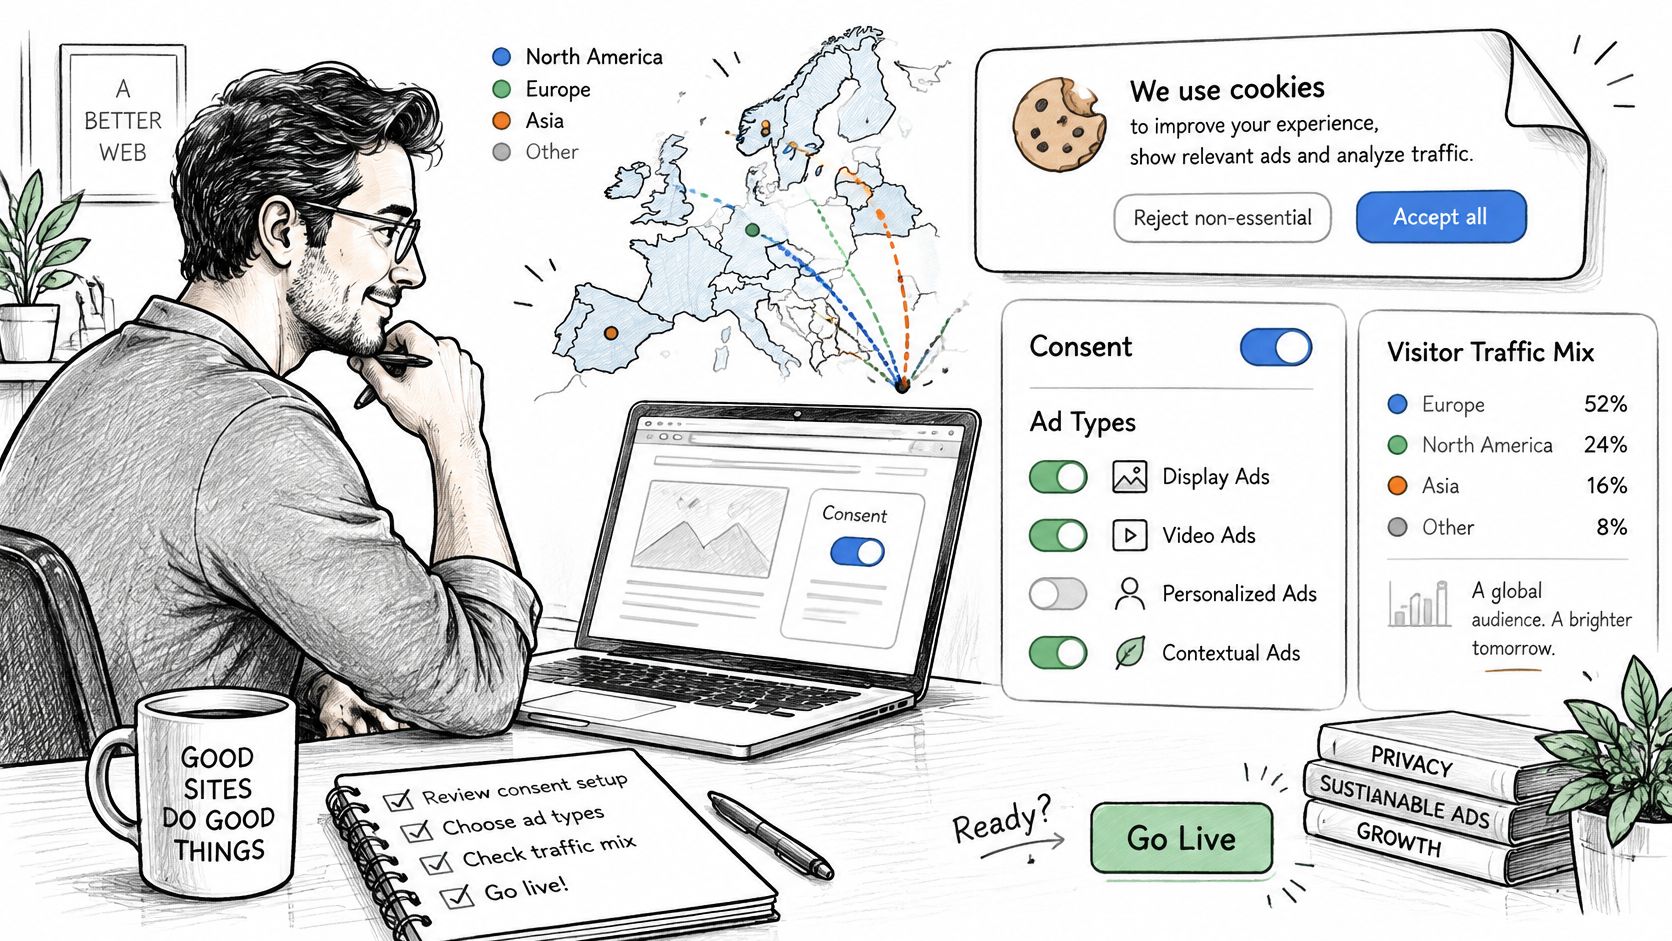
Personalized ads use data about the visitor to choose relevant advertisers, which is where the higher eCPM lives. Non-personalized ads use context only, such as the page topic. Both can fill a slot. For a visitor whose consent you cannot establish, only the contextual option stays available.
A consent record works like a ticket stub at a venue door. Same seat, two outcomes. With a recorded yes, a personalized ad can run. Without one, the request is limited to a non-personalized or limited ad where that format is supported. Geography decides which visitors need the stub before you publish.
Google requires publishers serving personalized ads to users in the EEA, UK, or Switzerland to use a Google-certified consent management platform integrated with the IAB Transparency and Consent Framework, and traffic handled by a non-certified CMP may be limited to non-personalized or limited ads where supported, per Google's consent platform guidance. A privacy policy page does not collect or store that choice, so a well-written policy cannot stand in for a CMP. The wider set of documents that belong alongside a consent tool is covered in the website legal and security guide from Wistec. Your own policy still has to name the tool that is live. NotFair's privacy page is one example of a product privacy notice, and it is separate from AdSense consent controls.
Check this before the site goes live, not after the first European session.
The go-live checklist for consent
- Check analytics for the share of visitors from the EEA, UK, and Switzerland, even if your business sits in North America.
- If that share is meaningful, install a Google-certified CMP that runs the IAB framework.
- Set the consent messaging in your AdSense privacy settings for those regions.
- Test in a private window with consent denied, and confirm that only non-personalized ads load.
- Test again with consent accepted, and confirm personalized ads load.
- Update your privacy policy so it describes the consent tool you use, not one you planned to use.
Launch when three things pass together: account and site approval, placement checks on every template, and the consent tests in both directions.
How to Check Your Ads Are Showing
An ad request firing confirms installation. It does not confirm earnings, and an empty space right after approval isn't a failure yet. Run this test in about fifteen minutes.
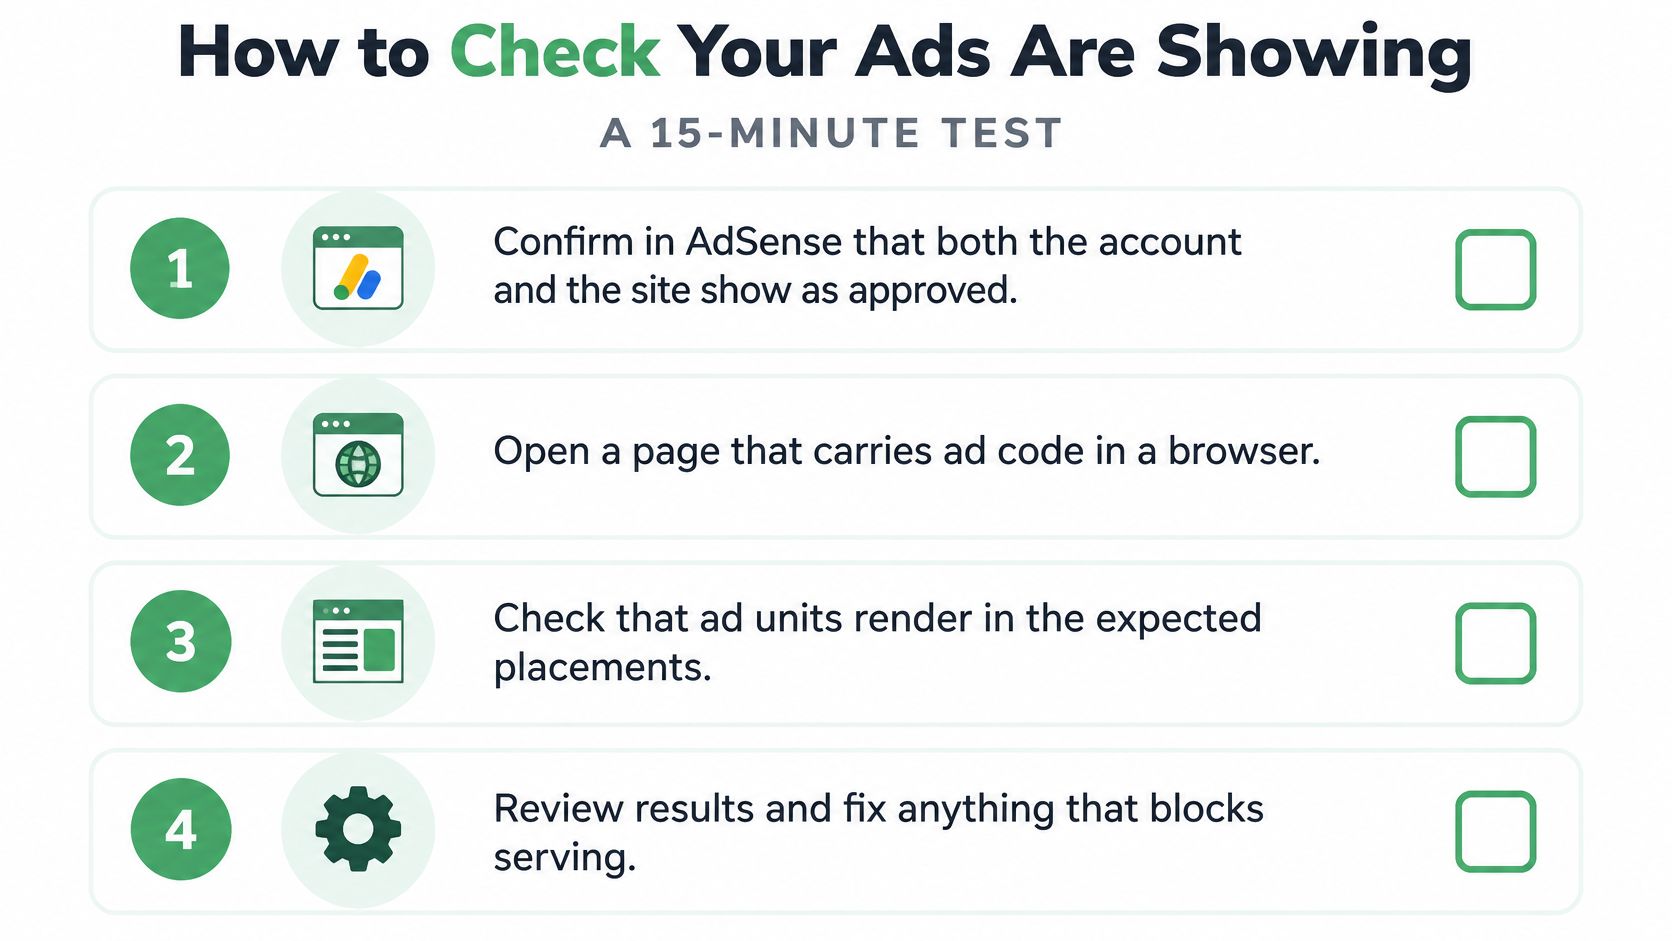
- Confirm approval status. Both the account and the site must show as approved in AdSense. Nothing serves before that.
- Open the page in a private browser window. Cached versions and your own ad settings mislead you otherwise.
- Check desktop, then a phone-sized screen. Confirm the ad container isn't hidden by CSS and has height to render into.
- Use developer tools. Open the Network tab, filter for Google ad requests, and confirm a request fires.
- Read the Console tab. Look for JavaScript or consent-management errors that block loading.
- Compare timing. Measure a page with ads against one without for load time and Core Web Vitals, and record the difference.
Google's implementation and optimization guidance recommends exactly this loop: deploy one controlled placement, verify the ad request in browser tools, then compare pages with and without ads for Core Web Vitals, engagement, and conversion rate before adding anything else. Keep ad metrics separate from product metrics such as demo requests and sign-ups, because a page that earns more per thousand views and converts fewer visitors is often a net loss.
The pass condition: an ad request on every tested page, a filled or intentionally empty space, no console errors, and acceptable speed on both screen sizes.
Fixing Weak Earnings and Policy Warnings
Weak earnings rarely mean you need more ad units. Google runs an auction each time an ad is eligible to appear, first matching ads whose targeting fits the opportunity, then excluding ineligible ones, and then requiring eligible ads to clear an Ad Rank threshold that combines bid, ad quality, landing page experience, auction competitiveness, and page context, as Google's auction documentation describes. You can't choose which advertiser wins an impression, and the auction repeats on every ad-supported visit.
That explains the pattern. The IAB reports that U.S. digital advertising revenue rose 15% year over year in 2024, so a quiet page usually points to audience value or viewability rather than a shrinking market.
| Symptom | Likely cause | First fix |
|---|---|---|
| Ads missing on some pages | Snippet or ads.txt not on every page | Add the snippet to the head of every ad page and recheck ads.txt |
| Ad layout broken or overlapping text | CMS rewrote the code or the container is too small | Restore the exact code in HTML view and let the unit resize |
| Policy warning or restricted ads | Prohibited formats or accidental-click layouts | Remove pop-ups and move ads away from navigation and buttons |
| Low earnings despite steady traffic | Low-value audience or few viewable impressions | Improve content relevance and placement before adding more units |
Use it one line at a time. Change one thing, then wait several days before judging it, because the auction shifts by country, device, time, and advertiser competition, and a single quiet afternoon tells you nothing. If a space stays empty for several days of verified traffic, treat it as an auction or eligibility issue rather than a placement issue. When the same product ships as an app, the demand logic carries over to in-app inventory, and this roundup of ten ways to monetize an app from Mazurly covers the parallel options.
- Track viewability and eCPM, not page views. A page with fewer, viewable impressions can out-earn one with three cluttered units.
- Remove pop-ups and accidental-click layouts first. These are the fastest route to a policy restriction, and no content change fixes them.
- Pause rather than patch when a policy warning lands. Serving during an unresolved violation risks the whole account.
Each symptom has one decision. A missing snippet on some pages is a fix now. A layout that broke after a theme update is a fix and a recheck. A policy warning is a pause until the offending format is gone. Low earnings with steady traffic is a wait and improve, because that one responds to content relevance and viewability over weeks.
Once your pages are approved and serving, the work shifts from installation to reading the numbers. NotFair hosts MCP servers that connect an AI client such as Claude or ChatGPT to Google Ads, Search Console, GA4, Meta Ads, and a CRM, and connecting Google Ads takes about two minutes: authorize once, then ask questions about the account with changes held behind an approval step. Visit NotFair to start on the Free plan, which includes 2 shared ad-account spots across Google, Meta, X, LinkedIn, Reddit, and TikTok, with unlimited Search Console and Analytics.